fat32 formatter uk

Fat32 format & fat32 formatter

FAT32 format is the Software that formats drives larger than 32GB using FAT32. It enables formatting large-capacity drives—which normally can only be formatted using either NTFS or exFAT—using FAT32 formatter. Formatting an external HDD as FAT32 is convenient when sharing it across multiple operating systems, like Mac OS or Linux. However, the standard formatting tools in Windows 2000/XP/Vista cannot format FAT32 on drives larger than 32GB. This software enables formatting disk spaces larger than 32GB in FAT32, as well as creating and deleting partitions. Select the desired disk from the disk list, and partition information like drive letters and size will be displayed as a bar graph. From this graph, you can select and delete existing partitions or select “Unallocated Space” to format it. The formatting process simultaneously creates the partition.

Fat formatter formatting will erase all data on the drive. If you have important data stored, be sure to copy it to another hard drive or similar storage before formatting. To prevent accidental deletion, we recommend disconnecting other USB devices whenever possible before proceeding. Hard drives or SSDs larger than 2TB (such as 3TB or more) cannot be formatted using the FAT32 format file system.

Fat32 format mini tools

Best FAT32 formatter

Fat32 MiniTool Partition Wizard Free

Edition software allows you to resize, delete, create, format, copy, and convert partitions.
Differences between file systems (FAT32, FAT16, NTFS, exFAT, HFS, HFS+, APFS)

Best FAT32 formatter

How to copy files in FAT32

How to copy files from a USB flash drive or memory card to your computer (Windows)

1. Right-click the flash drive in My Computer, then select Format.
2. Change the “File system” from ‘FAT’ to “FAT32” and format.

Best FAT32 formatter

FAT32 vs FAT (FAT16)

FAT (FAT16): Used since Windows 3.1 and also available in Windows 95 and Windows NT.

FAT32: Available since Windows 95 OSR 2.0. Its smaller cluster size compared to FAT16 allows for more efficient disk usage.

The FAT32 file system, often known as the File Allocation Table file system, was developed by Microsoft in 1977. FAT32 is a legacy file system; while less efficient and sophisticated than NTFS, it offers high compatibility with other operating systems and portable storage devices. FAT32 can be used on Windows, Mac, Linux, game consoles, and any other device with a USB port. However, it does not support partitions larger than 2TB or individual files larger than 4GB.

Reasons to Reformat from NTFS to FAT32

First, if your external HDD is formatted with NTFS, you may not be able to access some files from DOS mode or Windows 9X. Additionally, NTFS is not recognized by many devices, such as the previously mentioned Xbox 360 and PS3. In this case, you need to convert NTFS to FAT32 or format it to FAT32 for the device to function properly. For example, if you want to create a system backup or data backup on the E drive, PC applications cannot do so unless it is FAT32. Another example is owning a Sony PS3 but being unable to play games on an NTFS partition.

Differences Between FAT32 and exFAT

FAT32 and exFAT formatter

How to Choose the best FAT32 Formatter

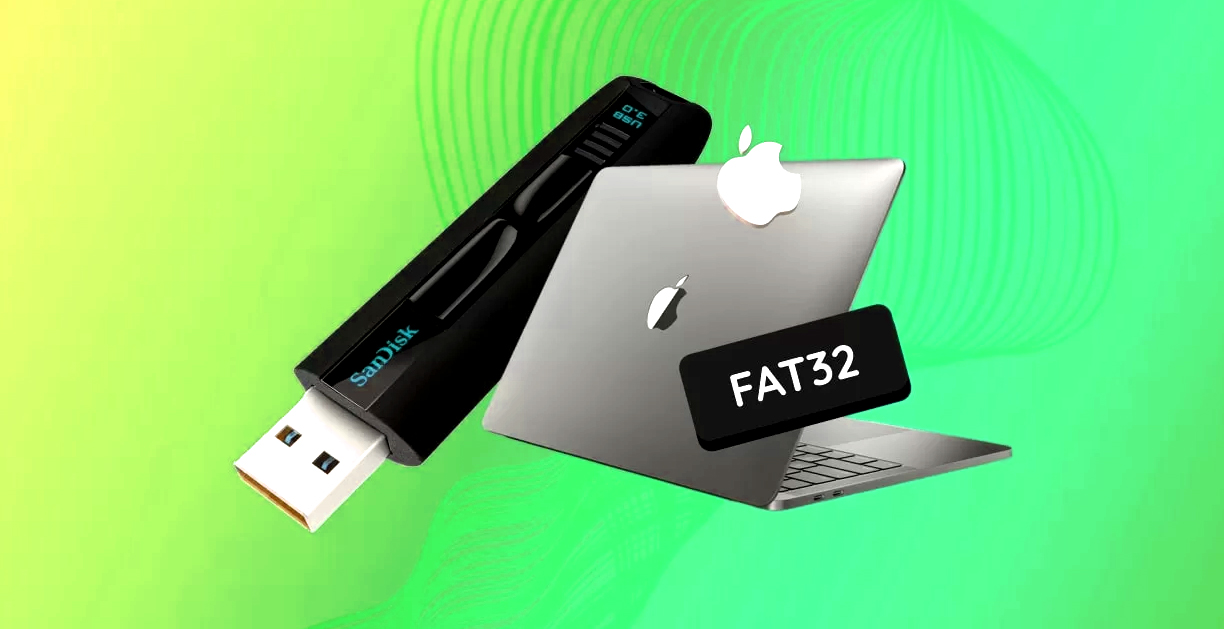
The interface closely resembles Windows' standard formatter tool and is designed for easy use without requiring installation. It is useful when you want to use large-capacity drives or memory cards on devices that do not support NTFS or exFAT. Additionally, during formatting, you can specify the allocation unit size and volume label. Have you ever noticed the “File System” option when formatting an external device? You can choose from options like ‘FAT32’ or “exFAT,” but what exactly is the difference? This time, we'll focus on two file systems: FAT32 and exFAT, comparing their features and characteristics.

Here’s how the FAT32 format works.

  1. On the download page, click the “here” link at the bottom of the page.
  2. Click the “here” link at the bottom of the page.
  3. Run “guiformat-x64.exe”.
    The main screen will appear.
  4. First, click the dropdown menu in the “Drive” field at the top of the screen and select the drive you want to format.
  5. Next, in the “Allocation unit size” field, specify the allocation unit size (cluster size) for the relevant drive.
  6. Specifying a smaller size allows you to use the drive more efficiently, but it also makes data more prone to fragmentation.
  7. Next, enter a volume label in the “Volume label” field.
    Enter a volume label in the “Volume label” field.
  8. When performing a quick format, check the “Quick Format” option in the “Format options” field.
  9. Once ready, click the “Start” button in the lower-right corner of the screen.
    A warning asking “Do you really want to format drive 〇:\?” will appear; click the “OK” button.
  10. Do you really want to format drive 〇:\?
    The selected drive will be formatted.
    Formatting…
  11. Wait until the progress meter at the bottom fills up.
  12. Wait a moment. Once the “Start” and “Close” buttons in the lower right become clickable, formatting is complete.

Thank You For Reading